Hello ionic
In the next series of how javascript is slowly taking over the tech let’s try Ionic.

On their home page Ionic Framework calls themselves as The Cross-Platform App Development Leader. Lets find out the truth in that.
I remember using Cordova back in 2010 and honestly the mobile landscape was very different back then. From what I’ve read so far, ionic was built on top of Cordova and angular.js but there is also an out-of-box template for react, which is what I’m probably going to use today. So let’s go!
Setup
First start the ionic cli.
npm install -g @ionic/cli native-run cordova-res
Running ionic start --list reveals the following list of templates:
Starters for @ionic/react (--type=react)

name         | description
--------------------------------------------------------------------------------------
blank        | A blank starter project
list         | A starting project with a list
my-first-app | A template for the "Build Your First App" tutorial
sidemenu     | A starting project with a side menu with navigation in the content area
tabs         | A starting project with a simple tabbed interface
So I’m obviously going to use the blank template:
ionic start photoapp blank --type=react --capacitor
And then few more installs:
npm install @capacitor/camera @capacitor/preferences @capacitor/filesystem
And then a few more:
npm install @ionic/pwa-elements
And then finally a few minutes later running ionic serve starts the good old familiar vite react app on the browser. Good, but I thought we are building a mobile app. So let’s fix that.
First we need to build the project.
ionic build
ionic cap add ios
ionic cap add android
Later in development if we wish to copy the web project into iOS, we need to run the ionic cap copy command.
And need to sync after adding plugins we need to run the ionic cap sync command.
And then finally to run the project for iOS we need to run the ionic cap open ios command. This would open the Xcode project from where we can actually run the app in our favorite simulator.

Drawing UI
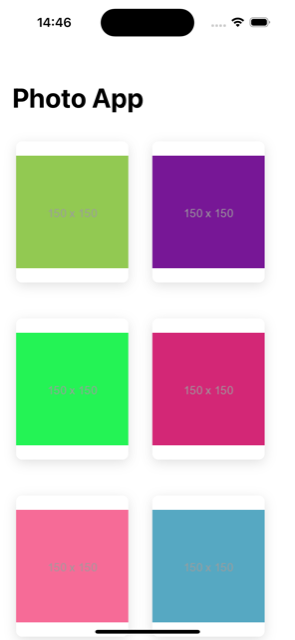
Very nice. Now let’s switch gears to rendering. Ionic provides a nice list of UI components to avoid lazy devs like me from writing the css. To make a 2 column grid of photos we can make use of IonGrid. IonGrid is made up of many IonRow, and IonRow is made up of many IonCol items.
So make a 2 column grid we can design our grid as:
type PhotoTileProps = {
  photo: Photo | null;
};

function PhotoTile(props: PhotoTileProps | null) {
  return (
    props?.photo && (
      <IonCol>
        <IonImg src={props.photo.thumbnailUrl} />
      </IonCol>
    )
  );
}

type PhotoRowProps = {
  left: Photo | null;
  right: Photo | null;
};

function PhotoRow(props: PhotoRowProps) {
  return (
    <IonRow>
      <PhotoTile photo={props.left} />
      <PhotoTile photo={props.right} />
    </IonRow>
  );
}

export default function PhotoList() {
  const [photoList, setPhotoList] = useState<Array<PhotoRowProps>>([]);

  async function fetchData() {
    const response = await fetch("https://jsonplaceholder.typicode.com/photos");
    const content = await response.json();
    const list = content as Photo[];
    let props: Array<PhotoRowProps> = [];
    for (let index = 0; index < list.length; index += 2) {
      const element = list[index];
      let row: PhotoRowProps = {
        left: list[index],
        right: list[index + 1],
      };
      props.push(row);
    }
    setPhotoList(props);
  }

  return (
    <IonGrid>
      {photoList.map((item, index) => (
        <PhotoRow key={index} left={item.left} right={item.right} />
      ))}
    </IonGrid>
  );
}
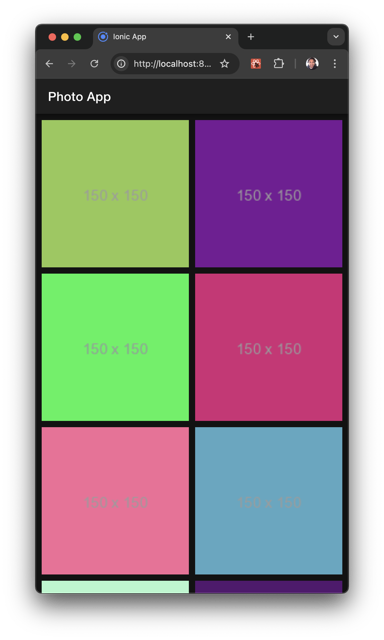
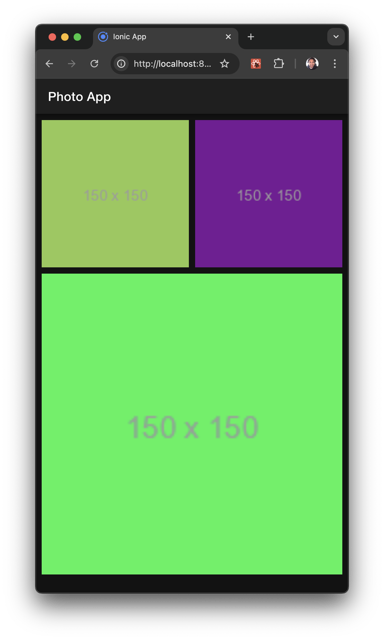
This should work for even numbered elements, but for odd numbered elements our grid would look weird, since the last element would occupy the entire width. I can reproduce this bug by only rendering 3 elements
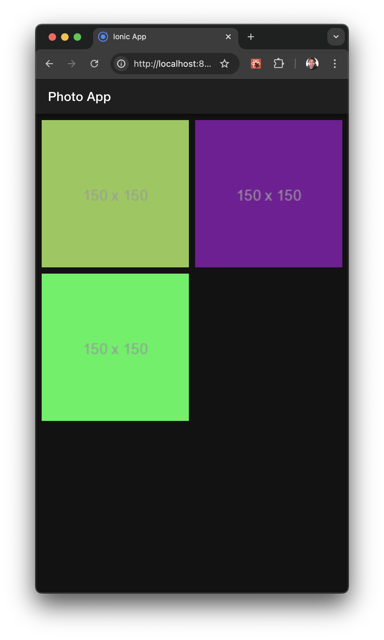
An easy fix is to always draw the IonCol
function PhotoTile(props: PhotoTileProps) {
  return (
    <IonCol>
      <IonImg src={props.photo?.thumbnailUrl} />
    </IonCol>
  );
}
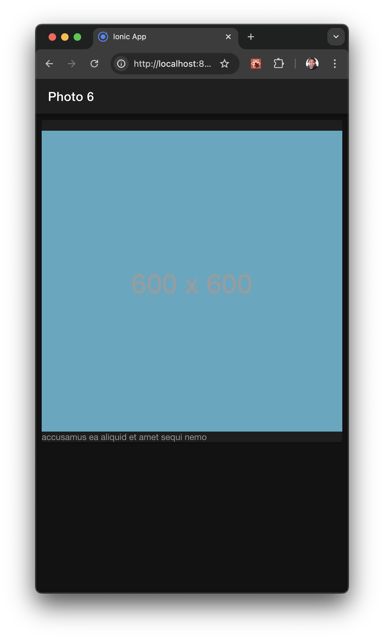
For details page we can build a UI similarly.:
type PhotoDetailProps = {
  id: string;
};

export default function PhotoDetail(props: PhotoDetailProps) {
  const [photo, setPhoto] = useState<Photo | undefined>(undefined);

  async function fetchData() {
    const response = await fetch(
      `https://jsonplaceholder.typicode.com/photos/${props.id}`
    );
    const content = await response.json();
    const photo = content as Photo;
    setPhoto(photo);
  }

  useEffect(() => {
    fetchData();
  }, []);

  return !photo ? (
    <IonSpinner />
  ) : (
    <PhotoTile
      photo={photo}
    />
  );
}
Navigation
The boilerplate app already provides a router which looks very familiar because, no surprise, it’s a wrapper around react-router.
const App: React.FC = () => (
  <IonApp>
    <IonReactRouter>
      <IonRouterOutlet>
        <Route exact path="/home">
          <Home />
        </Route>
        <Route exact path="/">
          <Redirect to="/home" />
        </Route>
      </IonRouterOutlet>
    </IonReactRouter>
  </IonApp>
);
And to extend the router to show a details page with param we can add the usual react-router styled Route. So for our photo app our routes would look like:
const App: React.FC = () => (
  <IonApp>
    <IonReactRouter>
      <IonRouterOutlet>
        <Route path="/home" component={Home} />
        <Route path="/details/:id" component={Details} />
        <Redirect exact from="/" to="/home" />
      </IonRouterOutlet>
    </IonReactRouter>
  </IonApp>
);
To parse the path argument we can use the RouteComponentProps.
interface UserDetailPageProps
  extends RouteComponentProps<{
    id: string;
  }> {}

export default function Details(props: UserDetailPageProps) {
  return (
    <IonPage>
      <IonHeader>
        <IonToolbar>
          <IonTitle>Photo {props.match.params.id}</IonTitle>
        </IonToolbar>
      </IonHeader>
      <IonContent fullscreen>
        <PhotoDetail id={props.match.params.id} />
      </IonContent>
    </IonPage>
  );
}
Now to navigate between Home and Details we can use the routerLink that is provided with a lot of Ionic components, like the IonCard
type PhotoTileProps = {
  routerLink: string;
  photoUrl: string | undefined;
  photoTitle: string | undefined;
};

function createPhotoTileProps(photo: Photo): PhotoTileProps {
   return {
     routerLink: `/details/${photo.id}`,
     photoUrl: photo.thumbnailUrl,
     photoTitle: undefined,
   };
}

export default function PhotoTile(props: PhotoTileProps) {
  return (
    <IonCard routerLink={props.routerLink}>
      <IonCol>
        <IonImg src={props.photoUrl} />
        {props.photoTitle && <IonLabel>{props.photoTitle}</IonLabel>}
      </IonCol>
    </IonCard>
  );
}
And there you have it. The photo app with Ionic framework!
As a final step, let’s build and run the app using Xcode one more time. So running ionic build && ionic cap copy one more time. And then running the app from Xcode. Viola!
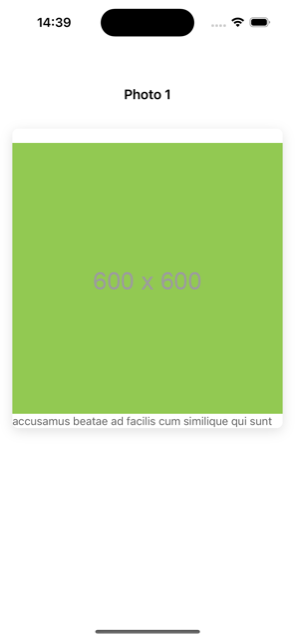
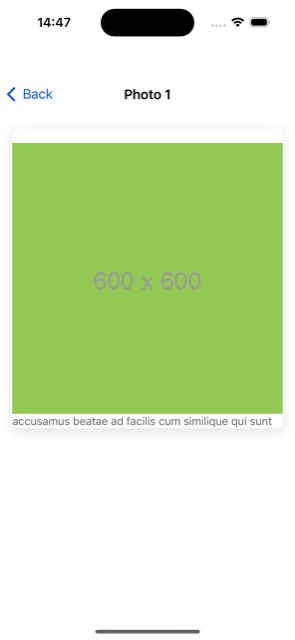
The details screen seems to be missing the back button. The fix is actually very simple, just add the IonBackButton
<IonToolbar>
  <IonButtons slot="start">
    <IonBackButton defaultHref="#"></IonBackButton>
  </IonButtons>
  <IonTitle>Photo {props.match.params.id}</IonTitle>
</IonToolbar>
Conclusion
I think Ionic is pretty solid framework for web developers. You can almost always tell that this is web UI, and I don’t think ionic is trying to hide that fact. But like with every thing software there are always trade-offs and the fact that Ionic is not limiting the web devs from using 100% of their expertise can be a huge win.
Like always the code from this experiment is available at https://github.com/chunkyguy/PhotoApp