React navigation basics
I just realized that I’ve never made the photos app with react.js. So let’s do that today.
Setup
I’m going to use vite to build the app with javascript.
npm create vite@latest .
npm install
npm run dev
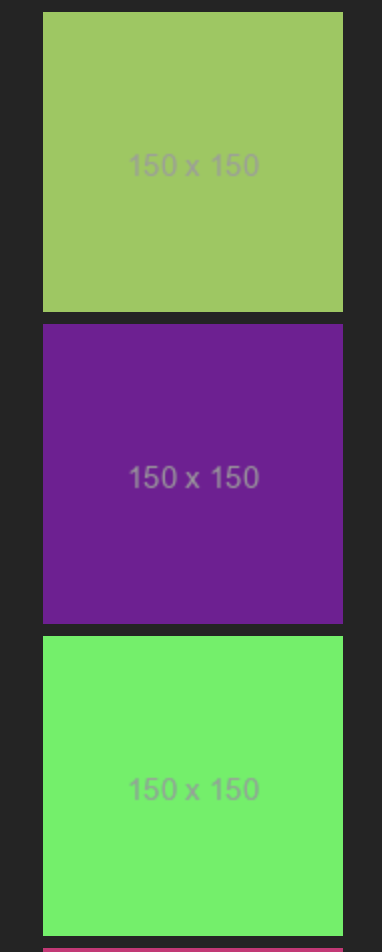
And we have our app up and running.

Fetch data
To fetch and display data in react is a three step process. First we need useState to hold the data:
const [photoList, setPhotoList] = useState([]);
Then we need a useEffect to fetch the data. One way is to use the promises:
  useEffect(() => {
    fetch("https://jsonplaceholder.typicode.com/photos")
      .then((response) => response.json())
      .then((content) => setPhotoList(content));
  }, []);
Another way is to create an async function and call it from useEffect:
  async function fetchData() {
    const response = await fetch("https://jsonplaceholder.typicode.com/photos");
    const content = await response.json();
    setPhotoList(content);
  }

  useEffect(() => {
    fetchData();
  }, []);
And then draw the UI.
Drawing content
To render the data we can simply use the html unordered list
return (
  <>
    {photoList.length === 0 ? (
      <p>Loading ...</p>
    ) : (
      <ul>
        {photoList.map(({ id, title, thumbnailUrl }) => {
          return (
            <li key={id}>
                <img src={thumbnailUrl} alt={title} />
            </li>
          );
        })}
      </ul>
    )}
  </>
);
In the true spirit of react we can probably move the li out as a reusable component and call it PhotoTile:
export function PhotoTile({ title, thumbnailUrl }) {
  return (
    <li className="photoTile">
      <img src={thumbnailUrl} alt={title} />
    </li>
  );
}
and reduce our App.jsx to
<ul className="photoList">
  {photoList.map(({ id, title, thumbnailUrl }) => (
    <PhotoTile key={id} title={title} thumbnailUrl={thumbnailUrl} />
  ))}
</ul>
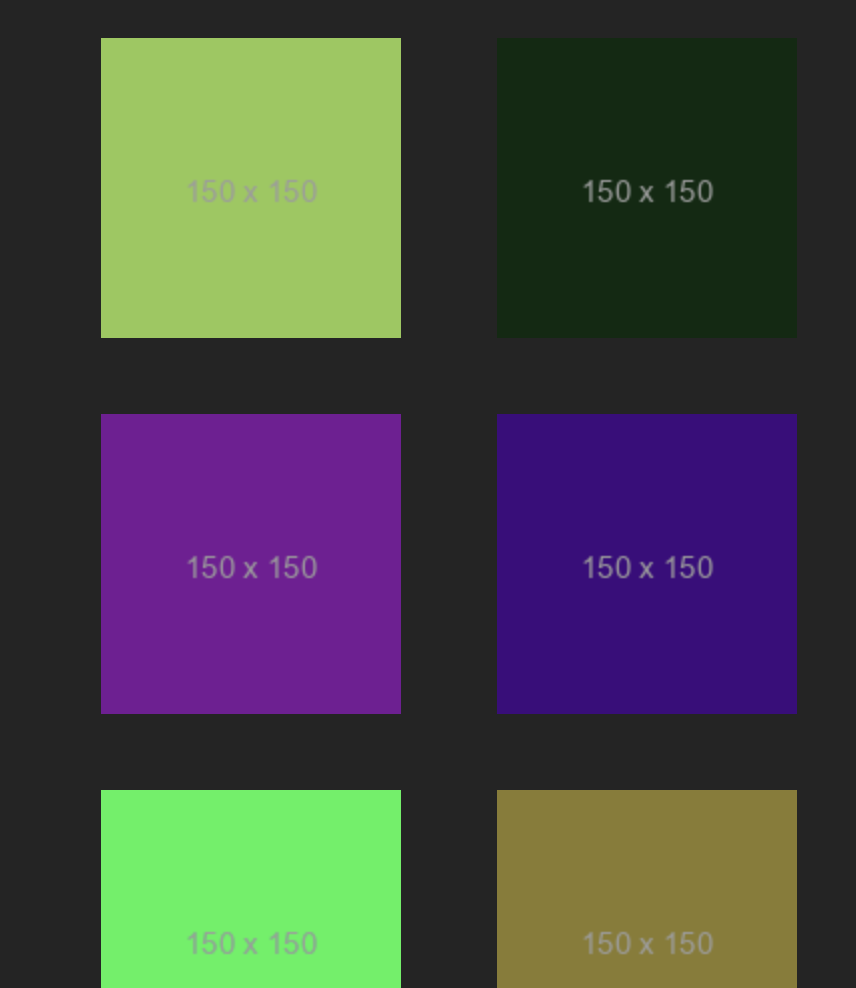
Next, to make the list 2 columns we can use grid, flexbox or one of the infinite other methods out there, but my favorite is to simply use the column-count
<ul className="photoList">
  ...
</ul>


.photoList {
  column-count: 2;
}
Navigation
And now the real deal. The react-router-dom. This changes everything. First we need to install the dependency obviously.
npm install react-router-dom
Then we need to update the main.jsx to use the router
const router = createBrowserRouter([
  {
    path: "/",
    element: <Home />,
  },
]);

createRoot(document.getElementById("root")).render(
  <StrictMode>
    <RouterProvider router={router} />
  </StrictMode>
);
To navigate to the details, we need to register the route with params:
const router = createBrowserRouter([
  {
    path: "/",
    element: <Home />,
  },
  {
    path: "/details/:id",
    element: <Details />,
  },
]);
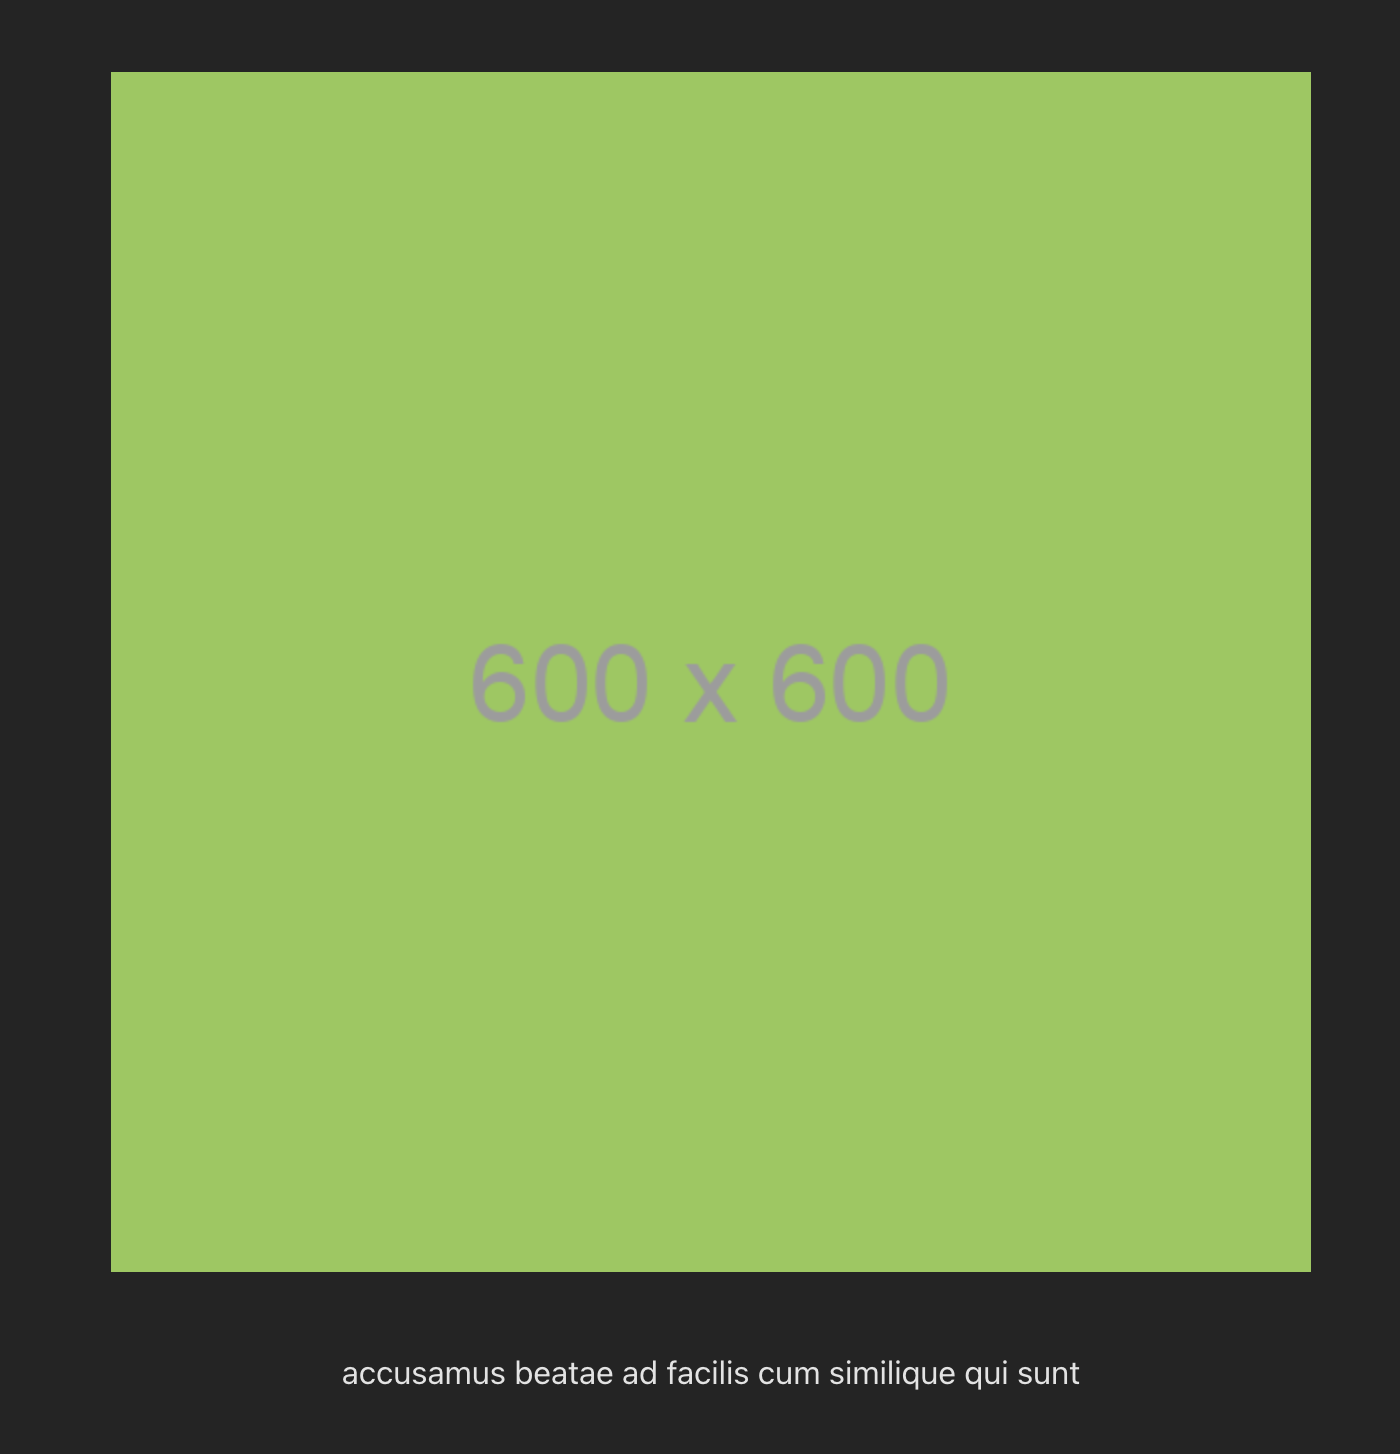
Then in the Details we can get the param value with useParams() hook
export function Details() {
  const { id } = useParams();
  const [photo, setPhoto] = useState(null);

  async function fetchData(id) {
    const response = await fetch(
      `https://jsonplaceholder.typicode.com/photos/${id}`
    );
    const content = await response.json();
    setPhoto(content);
  }

  useEffect(() => {
    fetchData(id);
  }, [id]);

  return (
    <>
      {!photo ? (
        <Loading />
      ) : (
        <ul>
          <div className="photoDetails">
            <PhotoTile title={photo.title} url={photo.url} />
            <p>{photo.title}</p>
          </div>
        </ul>
      )}
    </>
  );
}
And then to navigate between screens we need to make use of the Link component:
export function PhotoTile({ title, url, path }) {
  return (
    <li className="photoTile">
      <Link to={path}>
        <img src={url} alt={title} />
      </Link>
    </li>
  );
}
And then construct the details path from Home screen like:
<PhotoTile
  key={id}
  title={title}
  url={thumbnailUrl}
  path={`/details/${id}`}
/>
And back to home from the Details screen:
<PhotoTile title={photo.title} url={photo.url} path={"/"} />
Conclusion
And there we have the basics of a React app with navigation. The react-router is always evolving, there were some new changes in the v6 which I tried to use. But looks good and works like charm.
The link from this experiment is available at https://github.com/chunkyguy/PhotoApp/tree/master/react.