SwiftUI stateless bindings
In the Apple’s SwiftUI RecipeBook sample there is this code that broke my brain:
private var recipe: Binding<Recipe> {
    Binding {
        if let id = recipeId {
            return recipeBox.recipe(with: id) ?? Recipe.emptyRecipe()
        } else {
            return Recipe.emptyRecipe()
        }
    } set: { updatedRecipe in
        recipeBox.update(updatedRecipe)
    }
}
What this piece of code does is nothing more than providing a Binding to an item within an array of Recipe and it is pretty interesting way to achieve. So no @State involved whatsoever.
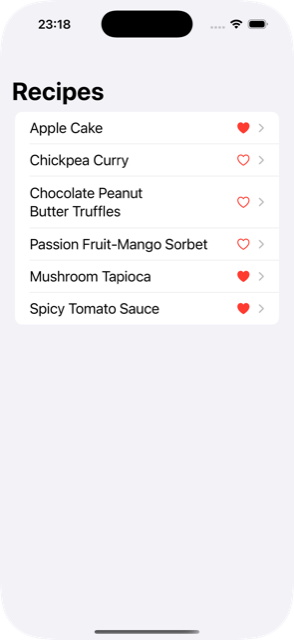
This is very useful for situations where we have main screen with a list of items and an editable details screen and we would like the changes to be reflected back on the main screen.
To elaborate let me create a minified version of the above mentioned Apple’s RecipeSample app.
So we obviously first we need the Recipe model
struct Recipe: Identifiable, Codable {
  var id: String
  var title: String
  var isFavorite: Bool
}
And then a RecipeViewModel which is the brain behind our entire app
class RecipeViewModel: ObservableObject {
  @Published var recipes: [Recipe]

  init() {
    self.recipes = [
      "Apple Cake",
      "Chickpea Curry",
      "Chocolate Peanut Butter Truffles",
      "Passion Fruit-Mango Sorbet",
      "Mushroom Tapioca",
      "Spicy Tomato Sauce",
    ].map { title in
      Recipe(id: UUID().uuidString, title: title, isFavorite: Bool.random())
    }
  }

  func recipe(with id: Recipe.ID) -> Recipe? {
    recipes.first(where: { $0.id == id })
  }

  func update(_ recipe: Recipe) {
    guard let index = recipes.firstIndex(where: { $0.id == recipe.id }) else {
      return
    }
    recipes[index] = recipe
  }
}
And then the root view of the app which provides the basic layout of the app and injects the RecipeViewModel as environment object so that it is available throughout the app. This is also where we hold the @State var selectedRecipeId: Recipe.ID?. And thanks to the SwiftUI magic whenever a Recipe is selected the app navigates to the details view RecipeEditView
@main
struct RecipesApp: App {
  var body: some Scene {
    WindowGroup {
      AppView()
    }
  }
}

struct AppView: View {
  @StateObject private var viewModel = RecipeViewModel()
  @State private var selectedRecipeId: Recipe.ID?

  var body: some View {
    NavigationStack {
      RecipeListView(selectedRecipeId: $selectedRecipeId)
        .navigationTitle("Recipes")
        .navigationDestination(item: $selectedRecipeId) { recipeId in
          RecipeEditView(recipeId: recipeId)
        }
    }
    .environmentObject(viewModel)
  }
}
The list view RecipeListView is actually pretty basic. It just renders a list of Recipe. The only important thing here is to not forgetting to wrap the content within NavigationLink to have the SwiftUI navigation magic to work.
struct RecipeListView: View {
  @Binding var selectedRecipeId: Recipe.ID?
  @EnvironmentObject private var viewModel: RecipeViewModel

  private var recipes: [Recipe] {
    viewModel.recipes
  }

  var body: some View {
    List(recipes, selection: $selectedRecipeId) { recipe in
      NavigationLink(value: recipe.id) {
        RecipeEditView(recipeId: recipe.id)
      }
    }
  }
}
Now the most interesting bit, the RecipeEditView. Since so far we have only provided data in terms of Recipe.ID this is where we need to map it to a read-write Binding to the underlying Recipe
struct RecipeEditView: View {

  var recipeId: Recipe.ID
  @EnvironmentObject private var viewModel: RecipeViewModel

  private var recipe: Binding<Recipe> {
    Binding(
      get: { viewModel.recipe(with: recipeId)! },
      set: { recipe in viewModel.update(recipe) }
    )
  }

  var body: some View {
    RecipeView(recipe: recipe)
  }
}
And finally a view to render Recipe with RecipeView
struct RecipeView: View {
  @Binding var recipe: Recipe

  var body: some View {
    HStack {
      Text(recipe.title)
        .font(.title3)

      Spacer()

      Button {
        recipe.isFavorite.toggle()
      } label: {
        Image(systemName: recipe.isFavorite ? "heart.fill" : "heart")
          .foregroundStyle(.red)
      }
    }
  }
}