Add Some Perspective to Your UIViews
The Safari for iOS has some very interesting perspective effect
built-in. You can check that when you’ve multiple tabs open. How about
building something like that? Those views are clearly UIView right? You
can see the web content rendered, they have cross buttons. The content
even periodically updates without launching the app using the background
services probably.
Lets start with searching for something in the Apple’s documentation. As far as I was able to search, I only got so far to the Adding Perspective to Your Animations in the Apple’s Core Animation Programming Guide.
If you just scroll down the Advanced Animation Tricks page, at the
bottom you’ll find around 10 lines and a small code snippet explaining
how to add perspective to your CALayer object.
This is a good start, it’s not great as it skips a lot of details and that’s for a reason. To adding perspective, you have to be familiar with the linear algebra behind it, and we shall get to in the next session. But for now, let’s get started.
So, create a new single view project and add a new Swift file to it. Let’s call it PerspectiveView.swift.
class PerspectiveView: UIView {}
In the storyboard add a UIView and set its class to be PerspectiveView
type. Next, we need a container view to hold any subview into it. We’ll
apply perspective to this container view and hopefully the perspective
gets applied to all the contained subviews. Let’s call this container
view as contentView.
  let contentView = UIView()

  required init?(coder: NSCoder)
  {
    super.init(coder: coder)
    setUp()
  }

  override init(frame: CGRect)
  {
    super.init(frame: frame)
    setUp()
  }
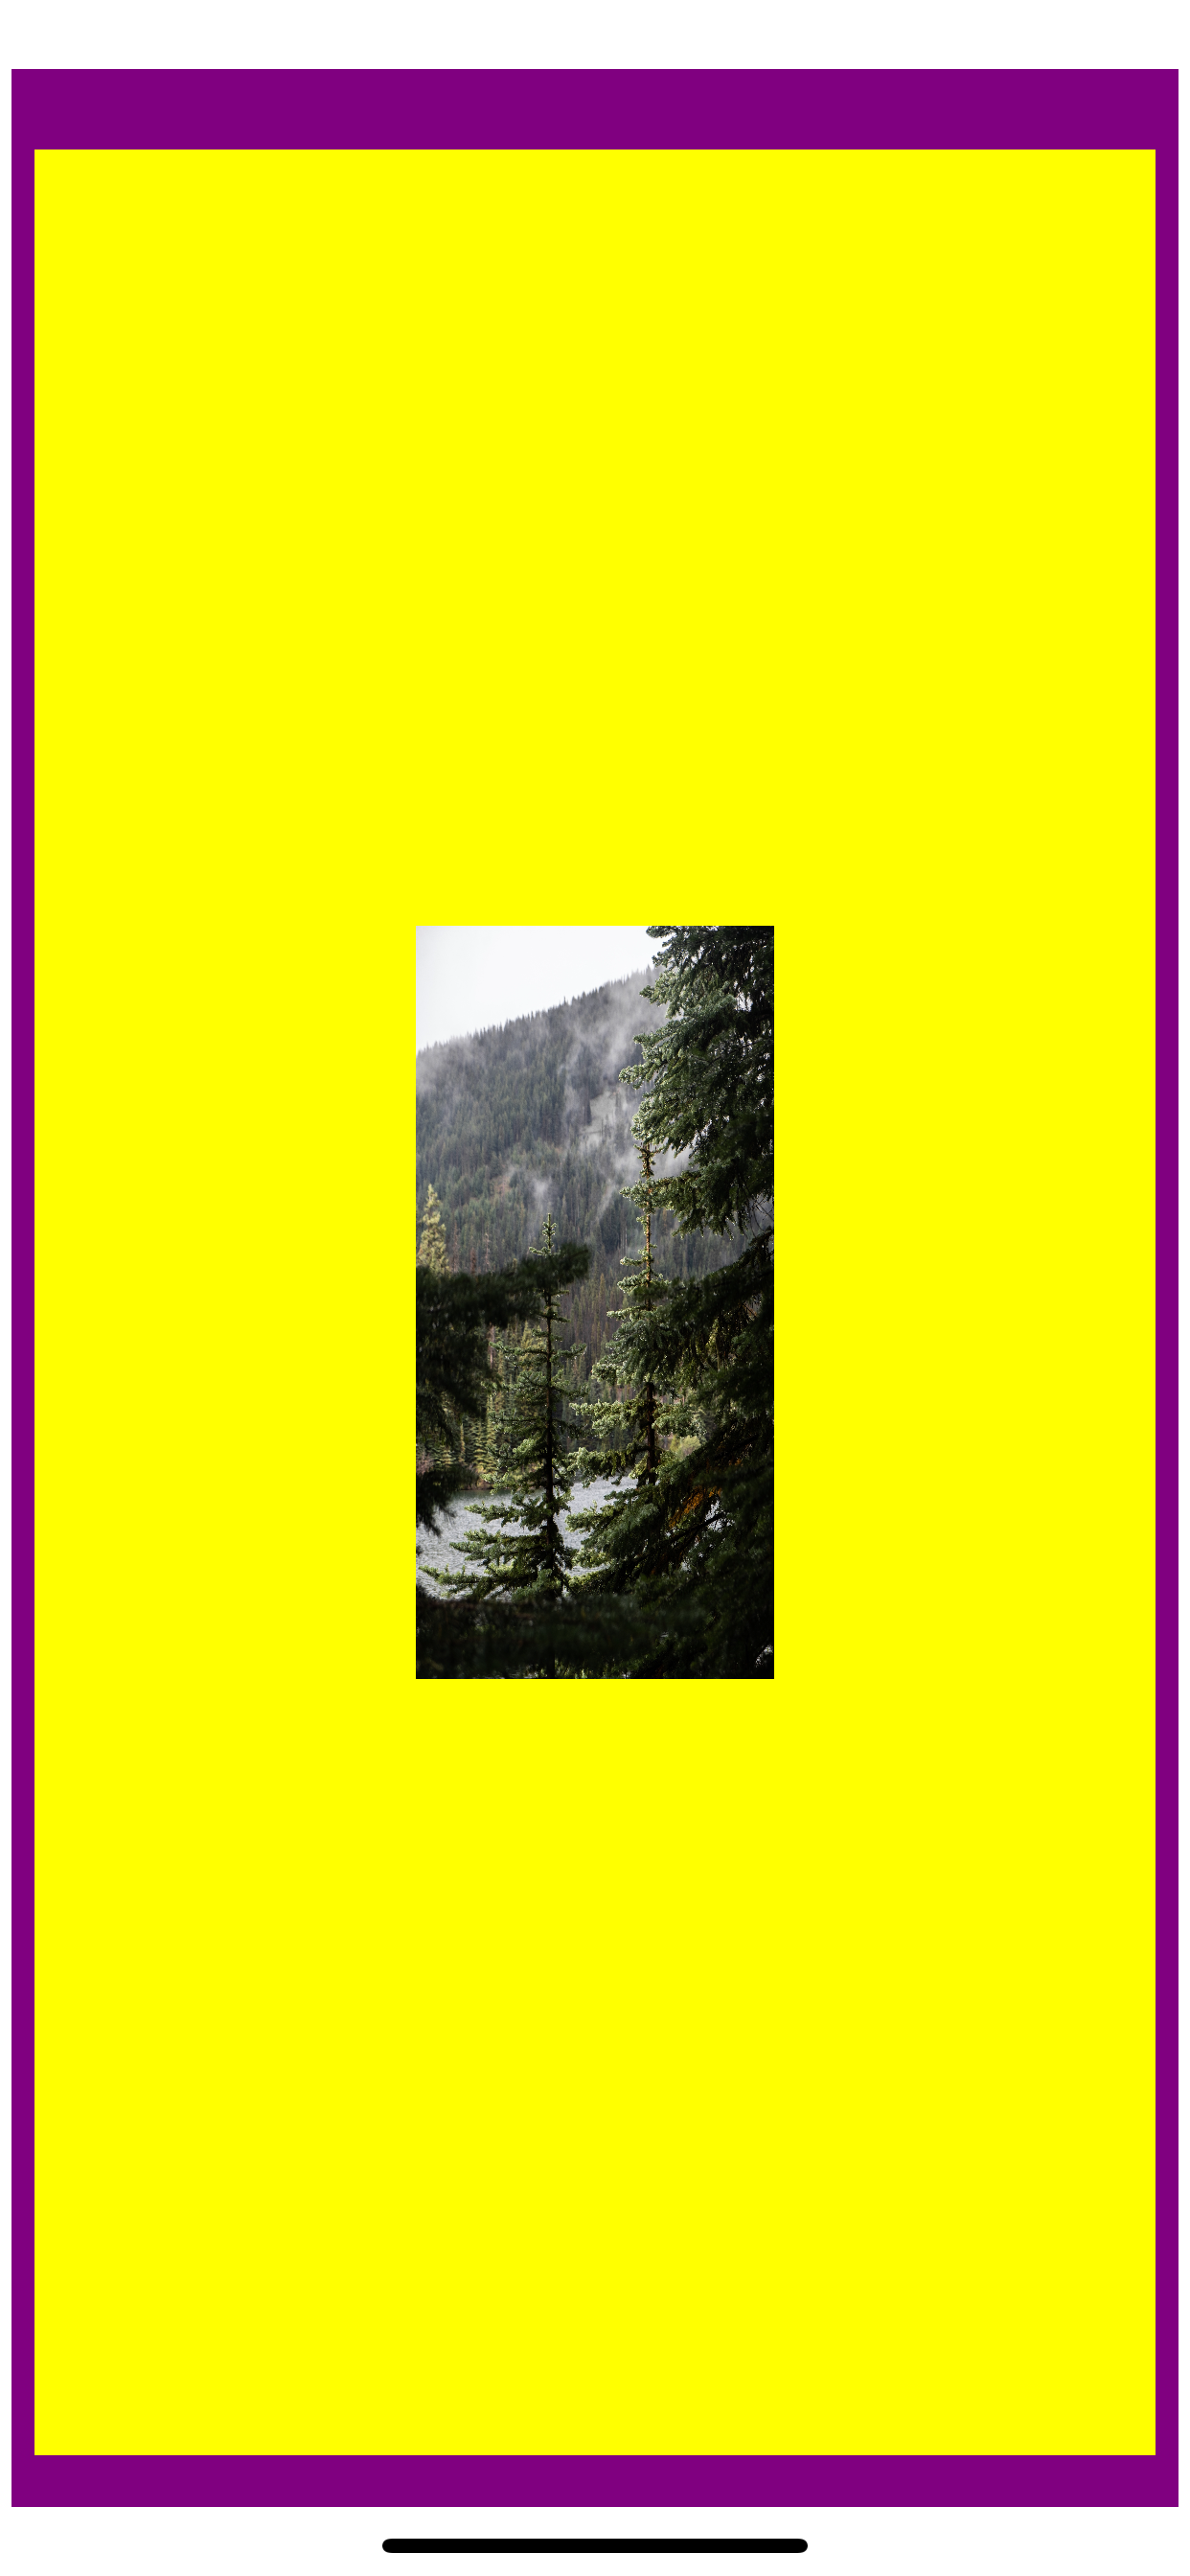
I’ve set the background color of the main view as purple and the
contentView as yellow just for debugging. Next, lets implement the
setUp(). This is where we configure the contentView
  func setUp()
  {
    var viewDict:[String: UIView] = [String: UIView]()

    viewDict["contentView"] = contentView
    addSubview(contentView)

    if let imagePath:String = Bundle.main.path(forResource: "sample", ofType: "jpg") {
      let image = UIImage(contentsOfFile: imagePath)
      let imageView = UIImageView(image: image)
      imageView.translatesAutoresizingMaskIntoConstraints = false
      viewDict["imageView"] = imageView
      contentView.addSubview(imageView)
    }

    applyConstraints(viewDict: viewDict)
    applyPerspective()

    contentView.backgroundColor = .yellow
    backgroundColor = .purple
  }
We’re just creating required views here. Here we’re just adding the view
that we wish to have perspective applied on to. For now, I’m just adding
a single UIImageView.
Next up, applying constraints.
  func applyConstraints(viewDict:[String: UIView])
  {

    contentView.translatesAutoresizingMaskIntoConstraints = false
    contentView.addConstraints(NSLayoutConstraint.constraints(withVisualFormat: "H:[contentView(>=100)]",
                                                              options: [],
                                                              metrics: nil,
                                                              views: viewDict))
    contentView.addConstraints(NSLayoutConstraint.constraints(withVisualFormat: "V:[contentView(>=100)]",
                                                              options: [],
                                                              metrics: nil,
                                                              views: viewDict))


    contentView.addConstraints(NSLayoutConstraint.constraints(withVisualFormat: "H:|-[imageView]-|",
                                                              options: [],
                                                              metrics: nil,
                                                              views: viewDict))
    contentView.addConstraints(NSLayoutConstraint.constraints(withVisualFormat: "V:|-[imageView]-|",
                                                              options: [],
                                                              metrics: nil,
                                                              views: viewDict))

    addConstraints(NSLayoutConstraint.constraints(withVisualFormat: "H:|-[contentView]-|",
                                                  options: [],
                                                  metrics: nil,
                                                  views: viewDict))
    addConstraints(NSLayoutConstraint.constraints(withVisualFormat: "V:|-[contentView]-|",
                                                  options: [],
                                                  metrics: nil,
                                                  views: viewDict))
  }
I’m just centering all the subview. This is just me being lazy. You should probably add proper constraints to keep the image view aspect correct.
Now coming to the interesting part. Applying perspective.
We just call the calculatePerspectiveTransform() to do all the
calculation and return back a CATransform3D object that we can simply
apply to the CALayer of our contentView. As for the calculation let’s
simply copy-paste the code from Core Animation Programming Guide to
calculate the transform.
func calculatePerspectiveTransform() -> CATransform3D
{
    let eyePosition:Float = 10.0;
    var contentTransform:CATransform3D = CATransform3DIdentity
    contentTransform.m34 = CGFloat(-1/eyePosition)
    return contentTransform
}

func applyPerspective()
{
    contentView.layer.sublayerTransform = calculatePerspectiveTransform()
}
That’s it. Give it a run.

If for now we just ignore the distortion of the image, which is a constraints issue. There are some other questions to be answered first.
- What is sublayerTransform?
- Why is eyePosition 10?
- What’s up with m34?
- And most importantly, where’s the perspective?
Turns out, the snippet provided by the Core Animation Programming Guide just adds the perspective. But, in order to see it in action you still have to modify the transform a bit more. Let’s add a little translation to the transform.
func calculatePerspectiveTransform() -> CATransform3D
{
    let eyePosition:Float = 10.0;
    var contentTransform:CATransform3D = CATransform3DIdentity
    contentTransform.m34 = CGFloat(-1/eyePosition)
    contentTransform = CATransform3DTranslate(contentTransform, 0, 0, -20)
    return contentTransform
}
Good. But from this angle this looks just as if the image has been scaled down. Why not rotate it along x axis.
func calculatePerspectiveTransform() -> CATransform3D
{
    let eyePosition:Float = 10.0;
    var contentTransform:CATransform3D = CATransform3DIdentity
    contentTransform.m34 = CGFloat(-1/eyePosition)
    contentTransform = CATransform3DRotate(contentTransform, CGFloat(GLKMathDegreesToRadians(45)), 1, 0, 0)
    contentTransform = CATransform3DTranslate(contentTransform, 0, 0, -20)
    return contentTransform
}
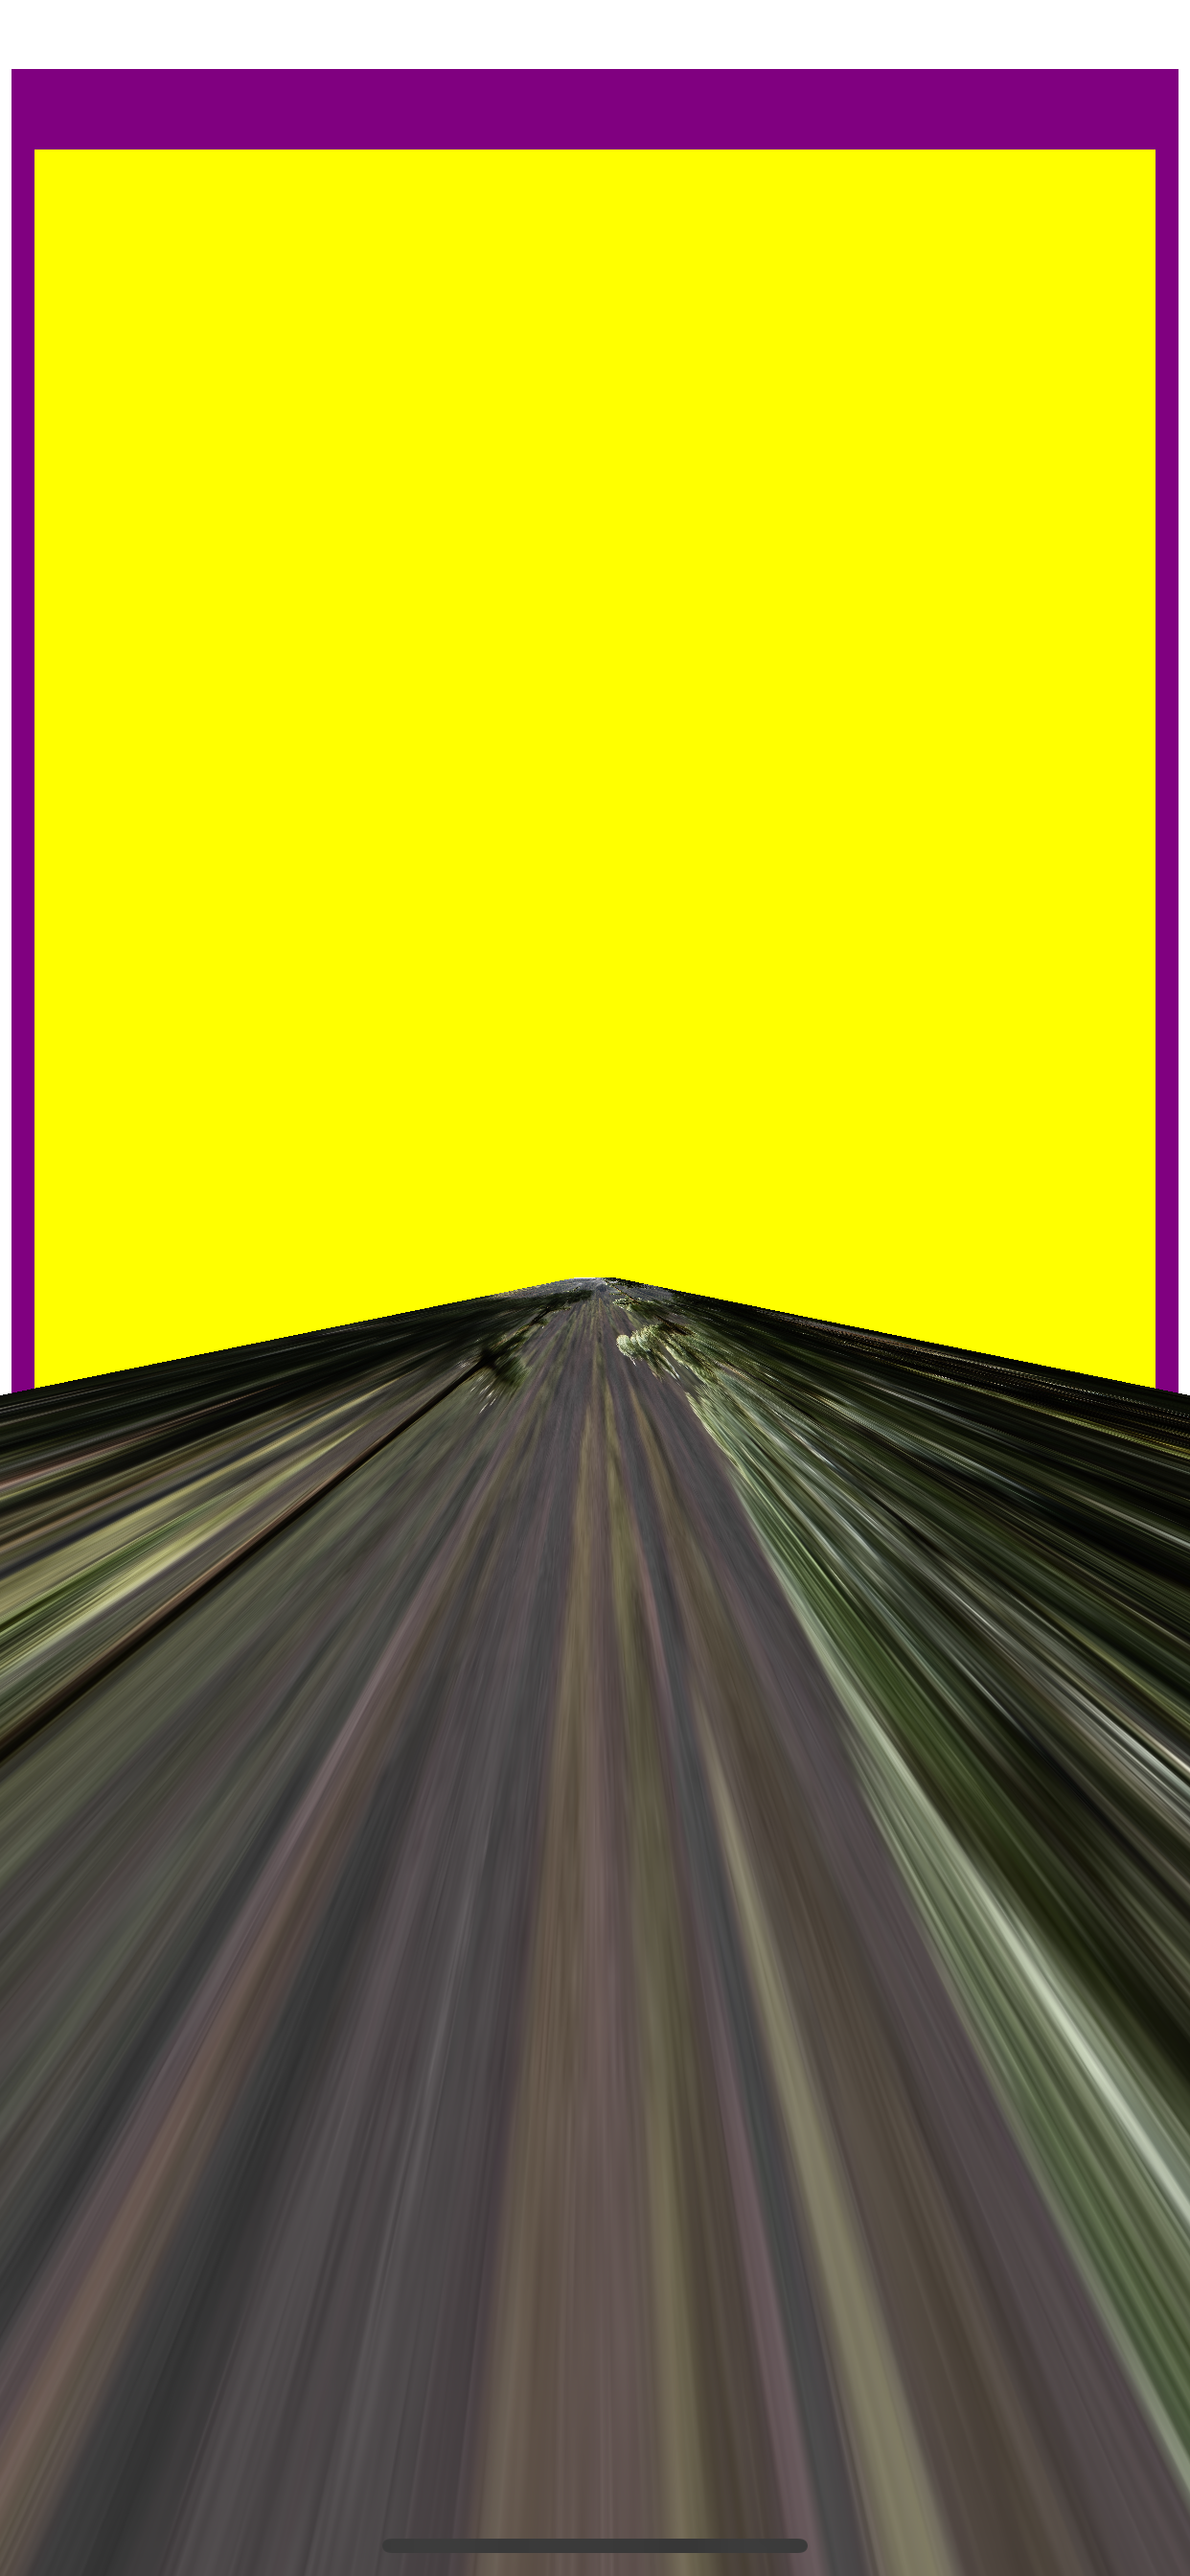
Wow! Now we have some perspective. We can now either just tinker with the magic numbers until we get the desired effect, or we can get a deeper understanding of things and have a better control over things.
I prefer the latter. So let’s begin by answering some of the questions from above.
What is sublayerTransform?
If you look at the interface of CALayer, you’ll see there are two CATransform3D types.
class CALayer : NSObject, NSCoding, CAMediaTiming {
    /* other stuff */
    var transform: CATransform3D
    var sublayerTransform: CATransform3D
}
When you modify transform, the layer’s own content gets modified.
Whereas, when you modify the sublayerTransform, the sublayers get
modified, while the receiver’s layer remains untouched.
If you replace sublayerTransform with transform
contentView.layer.transform = calculatePerspectiveTransform()
You would get something like
See what I mean? Our contentView which had a background color yellow also got modified. Let’s undo that code change. We need the contentView unmodified for things like reading touch and gestures.
What is eyePosition?
For the code above, it’s enough to understand that eyePosition here just means the degree of perspective you want to have. If it is some larger value, the effect is less and if it is a smaller value, the effect more.
We shall look behind the maths of this in the next session with linear algebra. But for now you can try experimenting with values like 5, 50, 500, 5000, 50000 and see the changes yourself.
What’s up with m34?
There are mostly two kind of projections we see in computer graphics, the orthogonal projection and the perspective projection.
Orthogonal is the default projection used by any 2D system like UIKit. Whereas the perspective projection is used by all 3D systems, like a 3D game. The main difference is that in orthogonal projection the distance from the
viewer is not accounted, or in other words the z axis is totally ignored.
CATransform3D transform is a 4×4 matrix. It works in a homogenous coordinate system. We will dive deeper into homogenous coordinate system in a later session. For now it’s enough to understand that the purpose of this matrix is to convert your points from a 3D space to a screen space which is in 2D.
The m34, or the value at 3rd row, 4th column of the matrix is the biggest hint whether the projection matrix is an orthogonal or a perspective. An orthogonal projection matrix typically has m34 as 0 while a perspective matrix has some negative value here, typically -1.
If in the above code, you simply set the value of m34 as 0, you’ll notice that all the perspective effect is gone!
func calculatePerspectiveTransform() -> CATransform3D
{
    let eyePosition:Float = 5000.0;
    var contentTransform:CATransform3D = CATransform3DIdentity
    contentTransform.m34 = 0
    contentTransform = CATransform3DRotate(contentTransform, CGFloat(GLKMathDegreesToRadians(45)), 1, 0, 0)
    contentTransform = CATransform3DTranslate(contentTransform, 0, 0, -20)
    return contentTransform
}

Of course, the view is scaled, because this isn’t a aspect correct orthogonal matrix, we’re still performing the rotation and the translation on the matrix. But the main perspective effect is gone.
With the basic questions answered, let’s now build a proper projection system. I’ll be using the GLKit, because it has all the things we need to build the system we want. Since, as of this writing GLKit isn’t available in Swift, we might have to do this work in Objective-C and return the CATransform3D object back to our Swift class, where we can simply apply it to our contentView.
// Transform.h
@interface Transform : NSObject
@property (nonatomic, readonly) CATransform3D transform;
@end
// PerspectiveView.swift
func applyPerspective()
{
    let contentTransform:Transform = Transform()
    contentView?.layer.sublayerTransform = contentTransform.transform
}
First we need a Camera class. Think of a camera. In a camera you control two things. First is the lens setting like the field of view, focus, aperture. The kind of things you usually set once before you begin the filming. The second is the camera motion, like the direction you want to point, rotating the camera and so forth.
/** Camera object */
@interface Camera : NSObject

/* lens */
// field of view - in radians
@property (nonatomic, readwrite) float fov;
@property (nonatomic, readwrite) float aspectRatio;

// near and far planes
@property (nonatomic, readwrite) float nearZ, farZ;

/* motion  */
@property (nonatomic, readwrite) float eyeX, eyeY, eyeZ;
@property (nonatomic, readwrite) float centerX, centerY, centerZ;
@property (nonatomic, readwrite) float upX, upY, upZ;

/* Read by Transform object */
@property (nonatomic, readonly) GLKMatrix4 projectionMatrix;
@property (nonatomic, readonly) GLKMatrix4 viewMatrix;

@end
Let’s look at each of these items one by one:
1. Field of view: Controls the area you want to capture. The wider the angle, the more area you capture. But at the cost of greater distortion. The fish eye lens has a very wide fov.
2. Aspect ratio: Controls the aspect ratio of the image captured. A value of 1 means the captured image will be distorted to fit within a square. You typically want this to be the actual ratio you wish to capture.
3. nearZ, farZ: The clip planes. Anything farther than farZ or nearer than nearZ doesn’t gets included in the final image. You don’t want the farZ to be too far, as it brings in more floating-point errors. So if set the farZ to 1,000,000 and you’ve two objects placed at z 10 and 12. The one at 12 might overlap the one at 10, even though it is farther down the z axis. Typically a value of 0.1 and 100 is good enough for nearZ and farZ respectively.
4. center: This is where the camera is placed at. Default value is origin.
5. up: Tells what side is considered as up. Default value if (0,1,0), that is up is along the y axis.
6. eye: This is the direction you’re pointing at. Actually the final direction is calculated using the up and center values as well.
Since the Camera class controls two independent things, we can have separate matrices for each one of those. The role of a matrix is just to transform points from one coordinate system to another. A matrix simply defines a coordinate system. So, if you have a 4×4 matrix and you multiply it with a 4D vector you get a 4D vector in the transformed coordinate space.
For our Camera class, we just keep track of two coordinate systems
- (void) updateProjection;
{
    self.projectionMatrix = GLKMatrix4MakePerspective(GLKMathDegreesToRadians(_fov),
    _aspectRatio,
    _nearZ, _farZ);
}

- (void) updateView;
{
    self.viewMatrix = GLKMatrix4MakeLookAt(
        _eyeX, _eyeY, _eyeZ,
        _centerX, _centerY, _centerZ,
        _upX, _upY, _upZ);

}
Whenever any of these values get updated, we simply update the related matrix.
Now let’s focus on the Transform class.
@interface Transform : NSObject

- (id)initWithCamera:(Camera *)camera;

@property (nonatomic, readwrite) float positionX, positionY, positionZ;
@property (nonatomic, readwrite) float rotationX, rotationY, rotationZ;
@property (nonatomic, readwrite) float scaleX, scaleY, scaleZ;
@property (nonatomic, readwrite) float angle;
@property (nonatomic, readonly) CATransform3D transform;

@end
This class is pretty straightforward. It just describes the transformations to be applied the object. The only thing that could be misunderstood is rotation. Rotation doesn’t describes the angle, it describes the axis. For angle we’ve another property. The final rotation is calculated from both rotation and angle.
Why do we need the Camera object? It’s because the final image is calculated after considering the camera object. Think of you shooting a frog leaping. The final captured motion depends on both the leap of the frog and the motion of your camera.
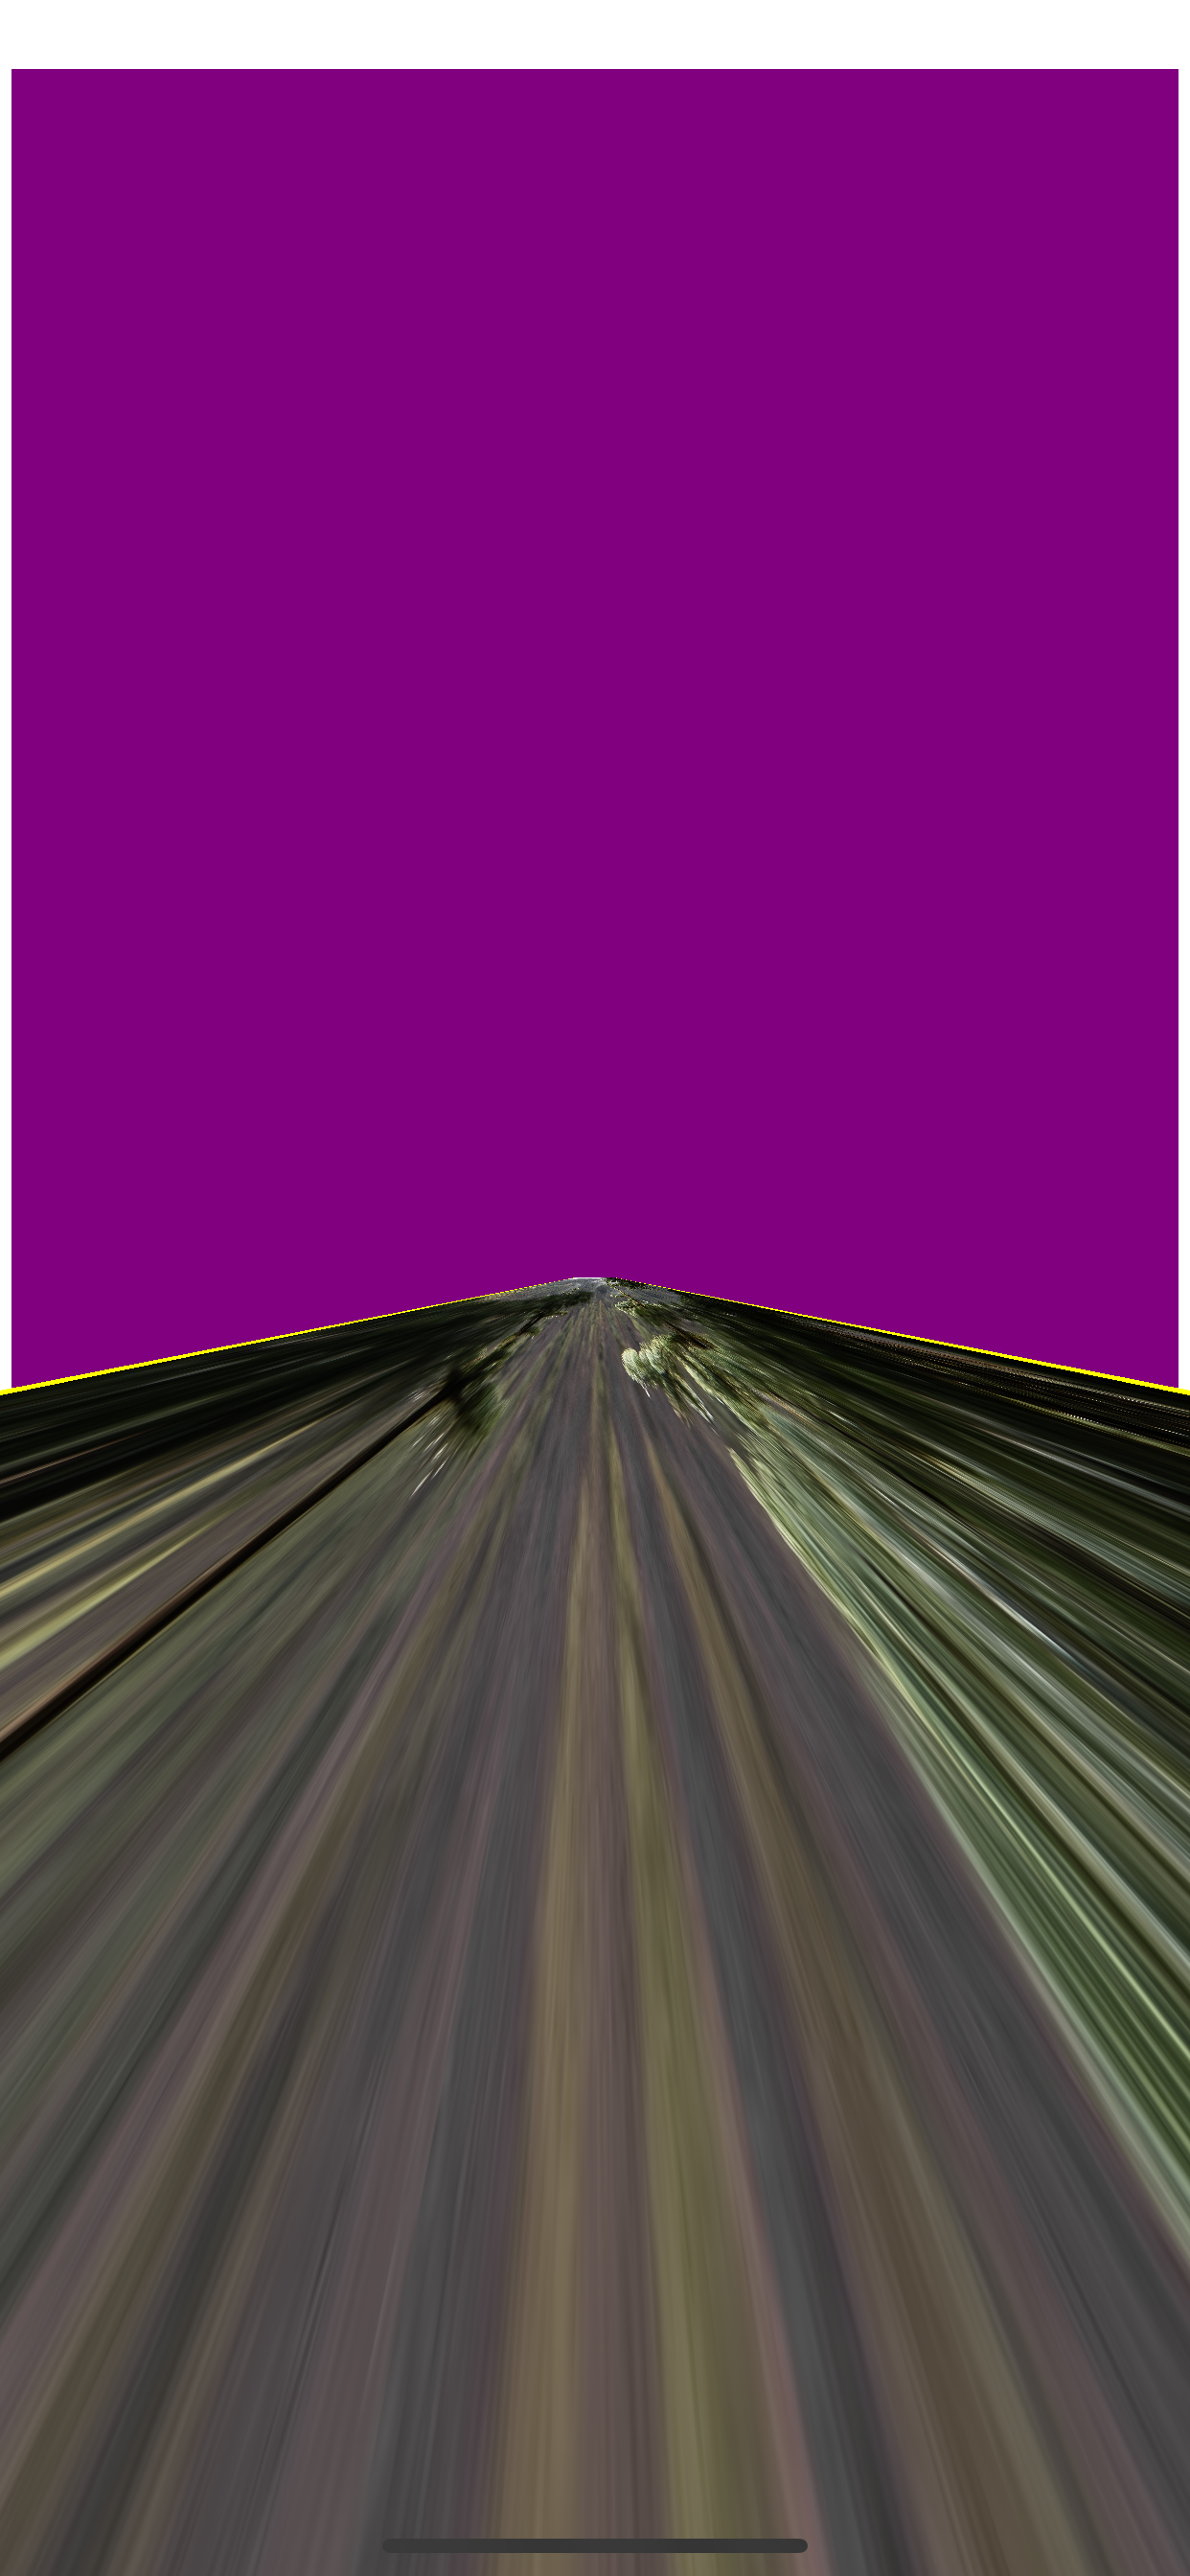
With that setup, lets see what can we build now. With a little experiment on the fov, camera’s eyeZ and the transform angle.
func applyPerspective()
{
    // config camera
    let contentCam:Camera = Camera()
    contentCam.fov = 10
    contentCam.aspectRatio = Float(UIScreen.main.bounds.width/UIScreen.main.bounds.height)
    contentCam.eyeZ = 25

    // config content transform
    let contentTransform:Transform = Transform(camera: contentCam)
    contentTransform.rotationX = 1.0
    contentTransform.rotationY = 0.0
    contentTransform.rotationZ = 0.0
    contentTransform.angle = -1.0

    contentView.layer.sublayerTransform = contentTransform.transform
}
I was able to get this.

Now, for your experimentation, you can test that when we update the fov how distorted the image gets. Also updating the eyeZ of camera actually zooms in and out the content. Next you can also experiment with different transform angles and axes.
There’s a whole lot of things I’ve skipped in the implementation of the Camera and the Transform class. It’s more about why things work the way they work. In particular the insides of
GLKMatrix4MakeLookAt()GLKMatrix4MakePerspective()GLKMatrix4MakeTranslation()GLKMatrix4Rotate()GLKMatrix4Multiply()- and much more
These are some of the most important functions where the real linear algebra magic is. But, I thought this is more like low level stuff and deserves a rant of its own. In the follow-up I’ll dive deeper in to these function and much more on linear algebra.
The code for this article is available at https://github.com/chunkyguy/DemoPerspectiveView